Share At:


Listening Article


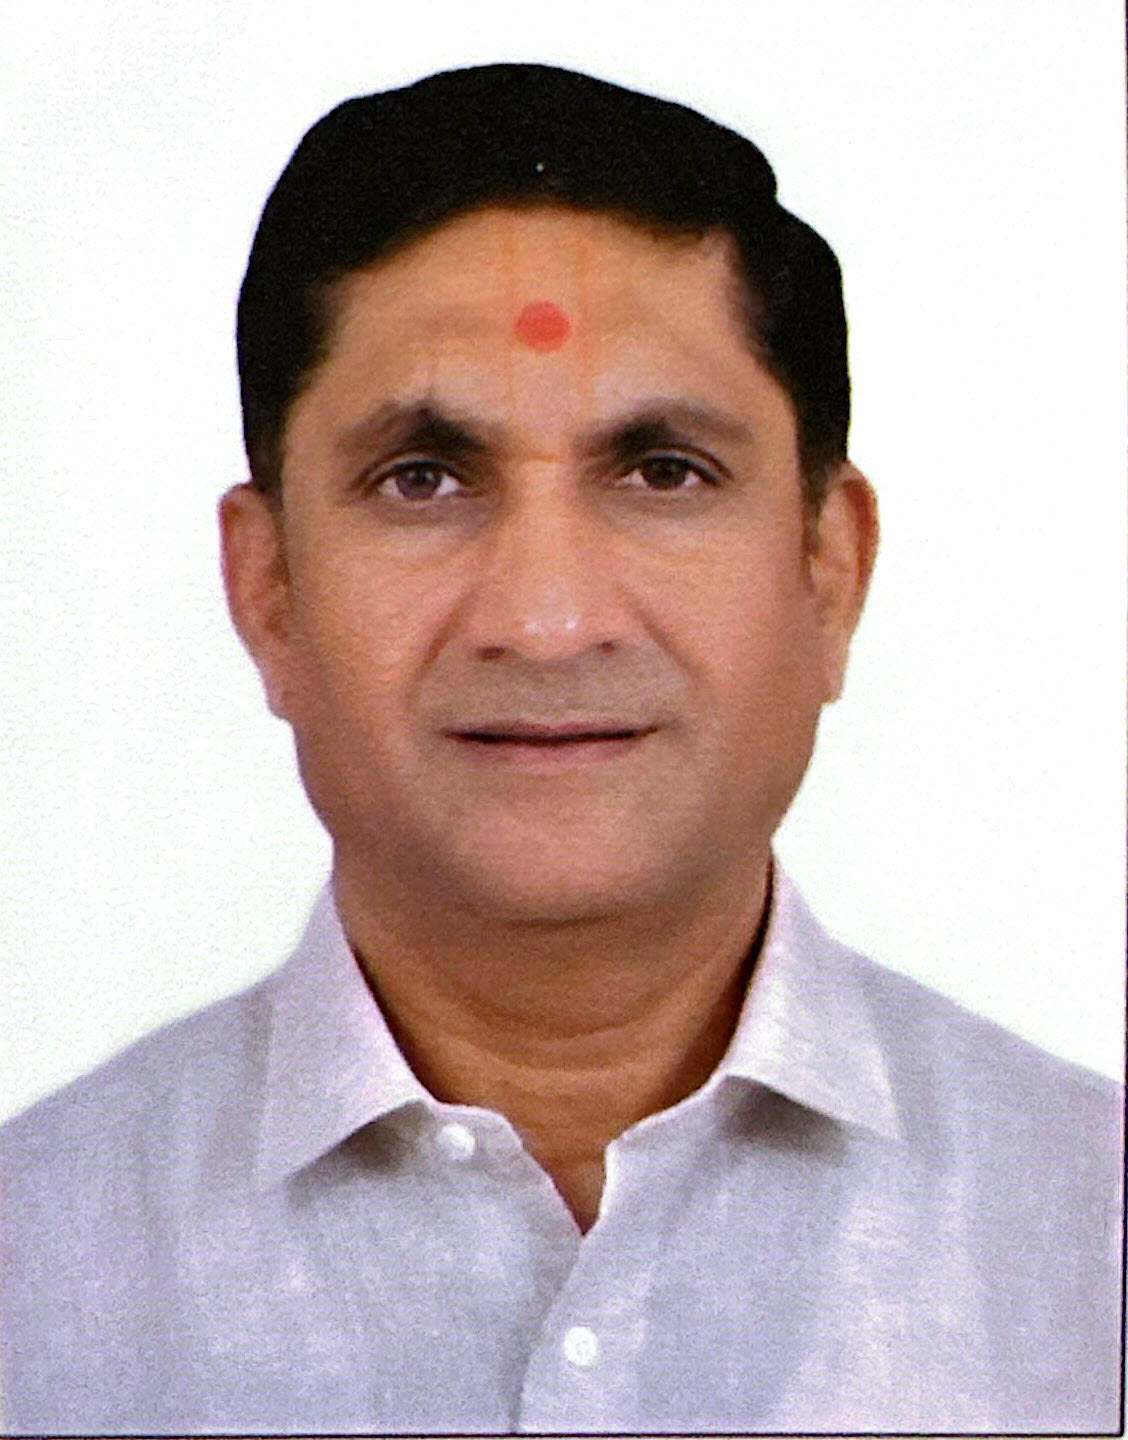
Founder & CEO
Mukesh Patel is the Founder & CEO of Build Matt ltd, specializing in Pre-Engineered Buildings (PEB) and general steel fabrication. With advanced technology, modern machinery, and a skilled workforce, he delivers efficient and high-quality solutions across East and Central Africa, including Uganda, Kenya, Tanzania, Congo, South Sudan, Rwanda, and Burundi.
Recent Blogs
- Steel Walkways Usage in Suspended Bridge and Overhead Platforms
- Steel Walkways Usage in Suspended Bridge and Overhead Platforms
- Steel Walkways by Build Matt Engineering the Path to Safety
- Roof Ventilation: Everything Homeowners Need to Know
- Steel Mezzanine Floors in Uganda: Comprehensive Guide by Build Matt Ltd